Got the event launching jitters? Sasha from our promo team gives solid advice on the most effective way to announce an event on social media. This strategy will help you get all those likes, shares, “going” and “interested” pouring in.
Use steps 1-5, before announcement and steps 6-10 at announcement.
1. Choose an ideal date and time to announce your event
Timing is crucial to ensure as many people as possible see your event. If you make your announcement at an hour when folks are likely asleep, at work or otherwise occupied, the announcement could flop.
The best time to announce an event on social media is generally in the morning around 11AM (in your event’s timezone), so that it will be up and visible when most people check their Facebook at lunch. The day you choose is important as well. Monday through Thursday is ideal, as people tend to have more unpredictable schedule on weekends and may miss the announcement.
Be attentive to other factors: it is ill-advised to announce on a date when there is an event that is similar to yours, or if there is big news that day, e.g. World Series Game, eclipse, UFO sighting, you get the idea.
2. Create a Brown Paper Tickets event page
You will want to have your Brown Paper Tickets ticketing page up and ready to go so that people can purchase tickets when they know about the event. Our system makes it easy to schedule the date when your sales begin, so you can create the event ahead of time, and have sales go live automatically when you announce your event.
3. Create your flyer image, Facebook Banner image and IG Square image
Compelling visual images are essential for effective event promotion. Your flyer design is more than the who/what/when/where/why; it’s the face of your event, so you want to make sure it looks good wherever you post it. The key is properly sized flyer images.
Create or ask your designer to create three versions of your flyer image, since they may need to adjust the layout for each one. If three separate designs are a bit too much, it’s still advisable to create some version of your flyer that will fit each of these sizes with all text visible.
A banner image:
Size: 1920 x 1080
Uses: Facebook Business page banner image, Facebook personal page banner image, Twitter header
A square image:
Size: 1000 x 1000
Uses: Instagram posts, Facebook profile pictures, Facebook posts, Twitter profile photos, general social media sharing
A flyer/poster sized image for printing:
Size: 1650 x 2550px (11 x 17 inches)
Uses: Printing handbills and posters, general posting.
While the standard size for printing flyers is 5.5 x 2.125in (a quarter of a standard 8.5 x 11in sheet of paper), the size listed above is big enough that it can be printed onto a poster or a flyer. However, because of the size of the image, the image will have a large file size. You may consider asking your designer to create a smaller version for social media posting.
4. Draft your announcement post for social media
Before you launch your event, write out the text you will post when you announce your event on social media. This post should be clear, concise and engaging, and contain basic details to stir up excitement.
There are a few ways you can go with this announcement. There’s the basic: “We are proud to present a night of roots reggae one night only at the Crocodile.” And the involved and unique: “Some try to avoid hordes of the undead on their weekend, we say Bring it On! Three screenings of Dawn Of The Dead, this weekend only at the Balboa Theater.”
Your goal is to get people to like, comment, or share the post, so make sure the content draws people in while staying on-brand.
Be brief. While you want to provide the important details, you don’t want the post to end up too long. Aim to strike a balance between informative and concise.
5. Make sure everyone on your team is ready to announce
 The whole point of a good announcement is to make a splash, and the best way to do this is by having as many people as possible posting simultaneously about your event to get the word out.
Make sure anyone helping you with your event or willing volunteers (coworkers, friends, family) are available, at their computers, are given specific instructions to post about the event and send Facebook invitations to their friends. This team who agrees to help you ahead of time are your primary promoters. As you’ll see, a number of the following steps require you to communicate and work directly with them to maximize your announcement’s impact.
6. Create Facebook event page
Learn how to create Facebook event pages with these easy instructions.
Some notes about adding details to your event:
Host: This field allows you to specify your event’s host. If you have a Facebook business page, you will be able to select either your business page or your personal page. You can always add other people as hosts later. Depending on your settings, hosts have the ability to edit the event, or to add other hosts.
Event Photo: Use this field to upload your event’s banner image. The image will appear at the top of your event page. If you don’t have a flyer, consider using an image related to your event, a photo from a past event or a stock photo of relevant subject matter. As mentioned in Step 3, however, having a properly sized flyer image greatly improves the look of your event page, catches people’s attention, and provides all the necessary information about your event in one place.
Event Name: Enter a short, clear name for your event. Your event title may not be in all caps, and cannot contain excessive amounts of symbols. It also helps to make your event title easily searchable so that people can locate your event easily. “The Beatles Live at the Showbox” is a good title, “***BEATLES LIVE SEATTLE ((@ SHOWBOX))!!!!” is not.
Location: Enter the exact location of your event. Many venues will already have their information stored on Facebook, and will appear in the drop down menu as you type in the venue name. If you see your venue appear in this menu, select it.
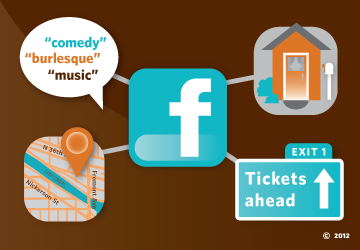
Tags: Type in tags for your event and select the results from the drop down menu. These are based on things that people have selected as interested or “liked” on Facebook. These tags can be specific or more general, but should always be relevant to your event. Examples: theater, wrestling, Seattle techno, hiking live music.
Ticket URL: Enter the URL for your Brown Paper Tickets ticket sales page. This will provide an easy and direct link for people to purchase tickets to your event, and will appear near the top of your event page.
Co-hosts: If you would like to give anyone else access to edit your event page, enter their names here. If you would like to add another business page as a host, first add the individual who is the admin for the business page, and then they will be able to add the business page itself.
7. Send as many Facebook invitations as possible, and have your friends do the same
Once your Facebook event page is created, invite your primary promoters to attend. They will receive a notification on Facebook that they have been invited to the event, and this will signal to them that it is up and ready to be promoted. Once you and your primary promoters have clicked “going” on the event, each of you should send as many invitations as you can to anyone on your friends’ list who might be interested.
This may be the most important step in the announcement process as it provides an initial promo blast across your networks as well as your friends’ and coworkers’ networks. Think of it this way: if you and 4 other people each invite 500 friends, you’ve just advertised to 500 people instantly, without spending a penny.
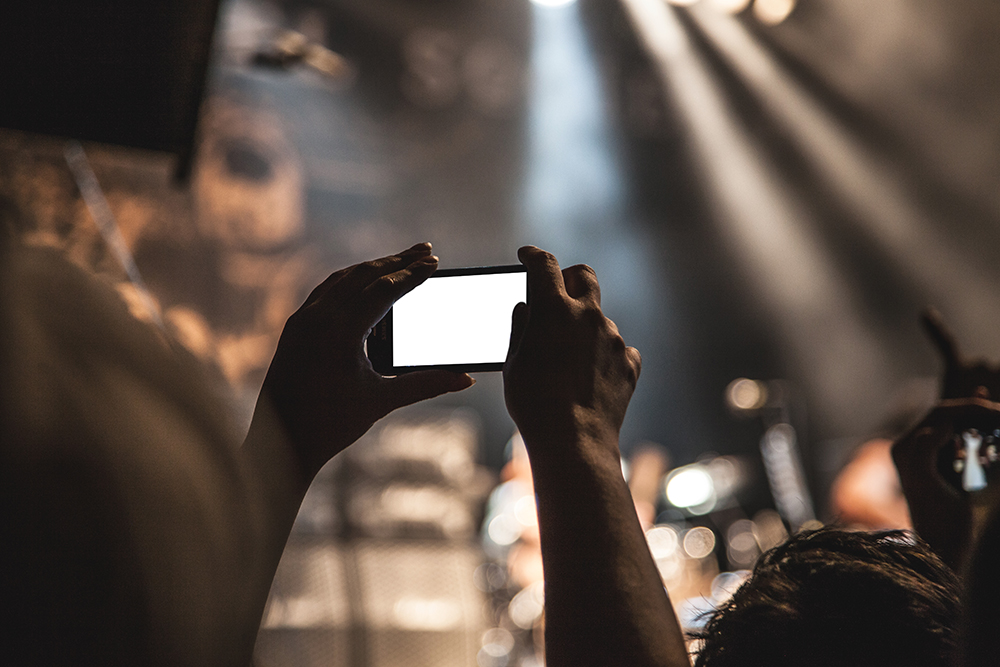
8. Make your announcement posts
Once you and your primary promoters have sent invitations on Facebook, it is time to post the pre-written announcement you drafted in step four.
Facebook uses a number of algorithms to determine how many people see posts that you make. To make sure your post gets as much visibility as possible, keep in mind that the following post types get the best visibility:
- Short (90-140 character) text posts
- Posts with images, the less text on the image, the better
- Posts that do not explicitly mention the fact that they are promoting an event and avoid using certain key words such as “event,” “buy tickets” or other terminology that clearly indicates your post is (essentially) an advertisement.
- Posts that do not contain direct links to Facebook event pages or Brown Paper Tickets ticketing pages.
What exactly should you post?
Your square flyer image or a visually engaging photo of your performers (or press shots if available,) accompanied by your announcement text that you prepared earlier. Make this post from both your Facebook business page and your personal page.
How do you direct people to buy tickets if you can’t link them to the ticketing page in your post?
Put the link to your ticketing page or Facebook event in the comments of your own post, after the post has been up for a few minutes.
Facebook uses automated systems to detect when people are promoting their events, and if you’re not paying for advertising, Facebook will make sure your post goes to the bottom of your friends’ feeds. Posts with just pictures or text tend to get more “likes” and comments, and are thus seen by more people. You can use this to your advantage; make a post that doesn’t contain an event link–at first. Then add the link in the comments once the post starts to gain visibility.
Additionally, post a link to your Brown Paper Tickets ticketing page in the “Discussion” section of your Facebook Event Page, and pin the post (here are instructions).
9. Change your Facebook profile/Business page banner image, and encourage your friends to do the same
By changing the banner image on your page and on your profile, you are effectively getting an extra promo boost every time someone visits your page. If you encourage your primary promoters to change their banner images as well, it will increase the number of people who see your flyer image across your promoters’ networks.
10. Make a follow up announcement for anyone who missed the boat
Once your Facebook announcement is done, you’ll want to make sure you follow up later in the evening with an additional post so that anyone who was busy or away from during your earlier announcement gets caught up. The ideal time to make this post depends on your audience, but 6-9PM is usually a safe bet as a lot of people are home.
Announce on your other networks
Have a Twitter account? Tweet out your square flyer image and a short announcement about your event. Be sure to tag your artists or performers in the Tweet if they are on Twitter, and create a Bitly link to direct people to your Brown Paper Tickets ticketing page.
Read more on effective Twitter hashtagging.
To create a short link, use Bitly.
Got an Instagram? Post your square flyer image there too, as well as a selection of hashtags relevant to your event. Since Instagram doesn’t let you put hyperlinks in posts, put the link to your Brown Paper Tickets ticketing page in your Instagram Bio, and include a note in your post saying “Ticket link in bio.”
For more information on Instagram’s “Link in bio” and why it’s great, check out this article.
Don’t forget to cross promote across all your social media channels. Occasionally post a link to your Facebook event page on Twitter, or a link to your Instagram on Facebook. Sending traffic between your social media feeds will help boost your followers across all platforms.
Now that you’ve completed these 10 steps, you’re done for the day. From preparation to announcement to the follow up, by carefully planning your announcement you should see a solid response from your social media network. Don’t forget, however, that promoting events is all about the long game. A strong announcement is important, but consistently posting about and promoting your event between now and the event date is just as important. Make sure that the event doesn’t fade from your network’s memories—build hype as it gets closer and closer.
Interested in learning more about announcing and promoting your event? Contact the Brown Paper Tickets promo department.
Event Tips >

 We’ve all seen what going viral in a “bad way” means. One bad tweet and then a few tone-deaf responses to criticism and your entire brand gets burned to ashes online. It takes years to build a brand and a few bad reviews to ruin it.


 Arts
Arts Comedy
 Event Tips
 Film
Film Food & Drink
 Good Causes
 Music
Music News
News Radio
Radio Roller Derby